How to Set Up a Private Lobby in Monster Hunter Wilds
Create a Private Lobby, share its Lobby ID, and use Link Party or quest invitations to hunt with your friends.
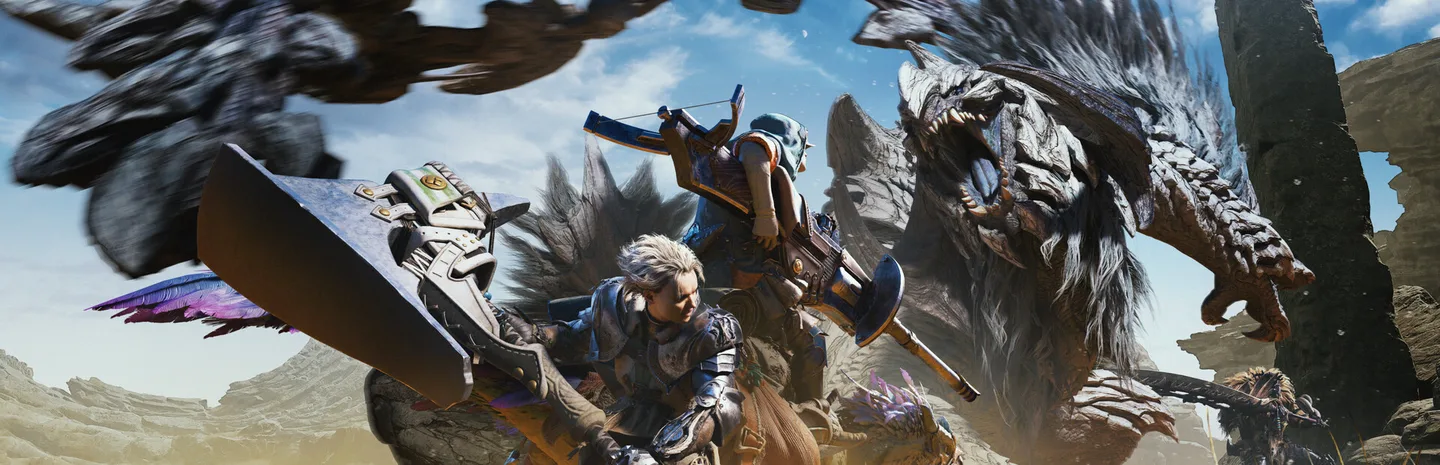 Art: Capcom
Select your Hunter from Save Data Selection, choose Private Lobby, and create the room. Share the Lobby ID with friends. They can enter it under Lobby Search → Lobby ID Search. Once everyone is in the room, use the quest options or form a Link Party so the people who want to hunt together can join the same quest.
1. Check whether multiplayer is available on your save
If you are still in the opening sequence, continue until the game allows you to use its multiplayer options. Make sure everyone has a Hunter ready to load. A friend who is still finishing the introduction may not see the same lobby choices as someone already at a base camp.
Agree on who will host before starting. If you play on different platforms, check the crossplay setting and use the in-game identifiers. A platform friend name may be useful for finding someone on the same service, but the Lobby ID is the code the private-room search needs. Decide whether you are joining a specific room or just inviting one person to a hunt so you can choose the right menu.
2. Create the private room and find the Lobby ID
- From the title screen, select your save and Hunter.
- Choose Private Lobby and create it.
- Load into the game and open the lobby or member information.
- Find the current Lobby ID and copy it exactly.
- Send it to the people you want in the room and check the member list as they join.
A private room is joined by its ID. Ask your friends to compare that code if they loaded into different sessions by mistake. If you create a fresh lobby after leaving the old one, share the ID from the new room. The previous code may point to a session you are no longer hosting.
3. Join a friend's private lobby
Select your Hunter and open Lobby Search, then choose Lobby ID Search. Enter the host's code and check the result before joining. If the game cannot find it, verify every character with the host. Make sure you are using the lobby code rather than a Hunter ID, which identifies a player.
Once you load in, open the member list and confirm that you are in the intended room. If a friend has not arrived, ask whether they found the lobby result or are still blocked before entering. That tells you whether to troubleshoot the code or the later quest setup.
4. Get the group into the same hunt
Sharing a lobby lets you gather in the same session. It does not automatically put everyone into every quest. Check the quest invitation or join options when the host posts a hunt. If your group intends to run several quests together, form a Link Party and use its quest invitations. Confirm that the people joining meet any requirements for the chosen hunt.
If a story quest does not let a friend join yet, read the current objective and check for a cutscene or progression requirement. You can use an available optional hunt to verify that the lobby and party work before trying the story quest again. That helps separate a quest restriction from a connection or invitation problem.
5. Troubleshoot before recreating the room
If a code fails, check the host's current ID and online status first. If the room appears but someone cannot join, check the relevant network and crossplay settings. If everyone is present but the quest is missing, confirm which player posted it and whether an invitation or join prompt is still available.
For a regular group, have one person post the lobby ID and the first planned quest together. Ask everyone to confirm the room before the host posts the hunt. This simple check saves time when some players are returning from an earlier session or are still looking at a previous invitation.
For a group that often splits between hunting and equipment management, agree to regroup in the lobby before posting the next quest. Check who actually accepted the invitation and give anyone still preparing time to join. If you switch hosts, repeat the Lobby ID check, since the new host may be starting a different session.
More Monster Hunter Wilds
-
Artian WeaponsArt: Capcom
How to Get Artian Weapons in Monster Hunter Wilds: Unlock, Parts, Crafting and Reinforcement8 Nov
-
Armor SpheresArt: Capcom
How to Get Armor Spheres in Monster Hunter Wilds: Best Farms, Smelting and Upgrade Costs7 Nov
-
and Beat GogmaziosArt: Capcom
How to Unlock and Beat Gogmazios in Monster Hunter Wilds31 Oct
-
Art: Capcom
Monster Hunter Wilds Switch 2 Prologue Demo Is Out: What's Included, Save Transfer and Pre-Orders31 Oct
Sources
This article was written by AI (Claude) and checked against the sources above. Games are updated regularly, so details may change.