How to Use the Vault in Destiny 2
Find the Tower Vault, store spare equipment, and retrieve it on the Guardian who needs it.
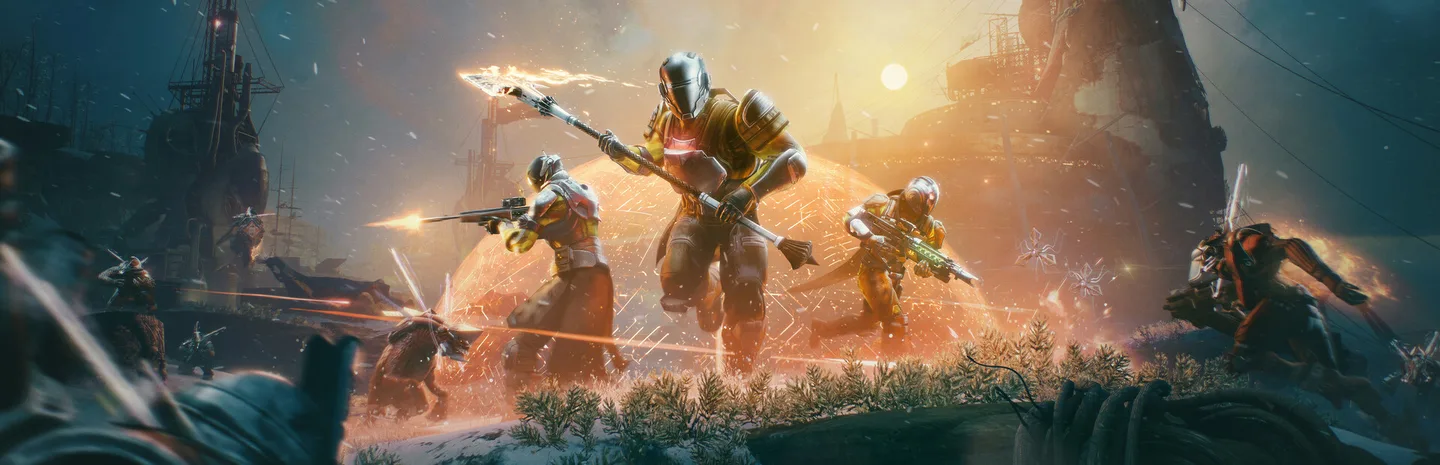 VaultArt: Bungie
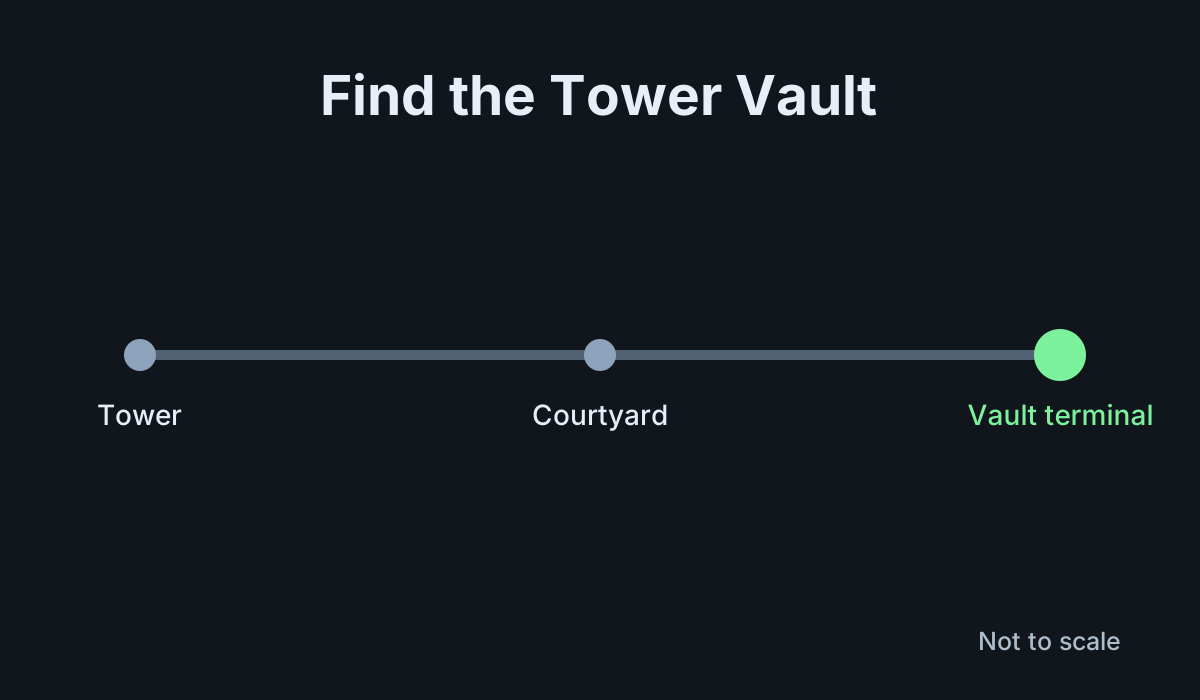
Travel to the Tower Courtyard and interact with a Vault terminal to store or retrieve equipment. To deposit, select an eligible item from your character inventory while the Vault interface is open. To retrieve, select the item from the Vault and check that your character has room for it. The Vault is shared between characters on the same account.
1. Find the Vault in the Tower
Open the destination map, choose the Tower, and land at the Courtyard. Look for the Vault terminals in the central hub. The terminal gives you a storage screen. The Postmaster, vendors, and other nearby kiosks serve different purposes, so read the interaction label if you are unsure what you are opening.
If you have only one item to move, choose a piece you can easily recognize for your first transfer. That makes it simple to check what happens when it leaves your inventory. Keep the character you want to use selected until you have completed both parts of the transfer.
2. Deposit a spare item
- Interact with a Vault terminal.
- Open your character equipment or inventory view while using the Vault.
- Highlight an unequipped weapon or armor piece.
- Use the Store action displayed by the interface.
- Open the Vault contents and confirm that the item is there.
Do not choose dismantle if you only want to free a slot. Read the action shown before confirming. If the item is currently equipped, switch to another compatible piece first. If a weapon belongs to an existing loadout, keep track of where you moved it so you can find it again later.
3. Retrieve a stored item
Open the Vault and find the weapon or armor piece you want. Read the name and inspect its properties before moving it, especially if you keep several copies. Use the displayed transfer action to bring it into your character's inventory. Then open that inventory to confirm it arrived.
If the receiving slot is full, make room on the character before trying again. You can store a spare piece temporarily to free the slot. If your goal is to move a weapon between characters, deposit it on the first character, then switch and retrieve it on the second. Armor may have class restrictions, so check whether the receiving character can use it before moving several pieces.
4. Keep items you can identify later
Before storing two copies of the same weapon, inspect their perks or other differences. Lock a piece you want to keep so it is easier to recognize when managing equipment. Store gear you expect to use for another build or character, then check the Vault again when you are ready to assemble that setup.
If your interface offers Vault access from the Character screen, use the Vault Mode prompt shown there. Check that you are actually in the storage mode before selecting an item. If the option is unavailable or your input does not work, return to a Tower terminal. The terminal is a dependable way to learn how the transfer should look.
5. Fix a failed transfer
If Store is missing, check whether the item is equipped and whether you opened the Vault rather than a regular inventory screen. If you cannot retrieve something, check room in the matching equipment slot. If the item seems to have vanished, check the Vault and the character inventory in turn before assuming it was deleted.
When moving several items, do it in small groups and check the destination after each group. That is particularly useful if you are clearing space before a long activity or rebuilding a loadout. Once the right pieces have arrived, equip the setup you intend to use and save it separately if you rely on the in-game loadout system.
When you return to the Tower after several activities, check the same inventory slots you use most often. Move pieces you want to save for a build before you run out of space in those slots. If you only need to change one weapon, retrieve it first and see whether it fits the character before moving the rest. A short transfer is easier to check than clearing an entire category at once.
More Destiny 2
-
PrismaticArt: Bungie
How to Unlock Prismatic in Destiny 210 Nov
-
StrandArt: Bungie
How to Unlock Strand in Destiny 210 Nov
-
Loadout with the In-Game Loadout SystemArt: Bungie
How to Make a Loadout with the In-Game Loadout System in Destiny 210 Nov
-
GjallarhornArt: Bungie
How to Get Gjallarhorn in Destiny 2: And Out Fly the Wolves Quest and Catalyst Chests8 Nov
Sources
This article was written by AI (Claude) and checked against the sources above. Games are updated regularly, so details may change.