How to Make a Loadout with the In-Game Loadout System in Destiny 2
Save a Destiny 2 build from the Character screen, switch to it later, and fix missing items or locked loadout slots.
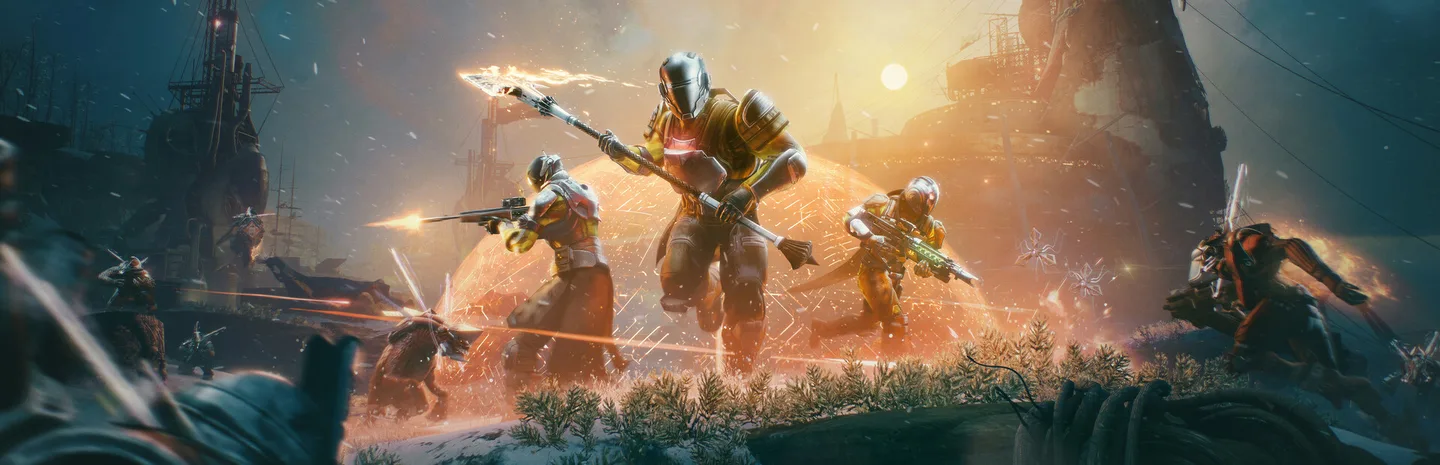 Loadout with the In-Game Loadout SystemArt: Bungie
Equip the build you want to save, open the Character screen, and expand Loadouts on the left. Select an empty slot and use the save action shown on screen. When you want that build back, open the same panel and equip the saved slot. Check your weapons, armor mods, and subclass afterward, especially if you have moved or replaced gear since saving it.
1. Build the setup you actually want to use
Equip your weapons and armor before opening the loadout panel. Set your subclass and select the abilities and other options you want to keep with the build. Check your armor mods on each piece. The loadout saves the setup you currently have equipped, so an unfinished build will come back unfinished.
Give the setup a specific purpose. You might keep a general-purpose build for story missions and another one for a team activity with different needs. If you usually swap one weapon for a particular encounter, decide whether you want that weapon included in the saved version or whether you will continue swapping it manually. Keeping the intended use in mind makes it easier to recognize the right slot later.
2. Save the equipped build
- Open the Character screen with the build equipped.
- Expand the Loadouts panel from the left side.
- Select an available slot and use the displayed action to save the current setup.
- Choose a recognizable icon, label, or color using the slot's customization options.
- Inspect the saved slot and make sure it contains the weapons, armor, and subclass you intended.
An occupied slot can be overwritten. Check the slot before using that action, especially if you are editing a build based on another one you already saved. If you want to compare both versions and have room, save the revised build to a separate slot. Keep a consistent set of icons or colors so you can recognize the two at a glance.
3. Equip a saved build and check the result
Return to the Character screen, expand Loadouts, and use the equip action for the saved slot. Do this before joining an activity if its rules can lock equipment. After the swap, check that the correct weapons and armor are equipped and that the expected subclass and mods loaded.
Test a swap while you are somewhere safe. Start on a different subclass or with a different weapon equipped, then apply the saved build and confirm that it changes what you expected. If you keep two similar setups, look for the item or ability that tells you which one is active. That quick check can save time before a team activity where you cannot easily fix your equipment.
4. Update a loadout after replacing gear
Equip the saved loadout, make the changes on your character, and overwrite the same slot when you are satisfied. A slot you saved before replacing an armor piece or weapon still represents the previous setup. It does not choose a new item just because the old one was removed.
If the swap fails or leaves part of your setup behind, check the gear the slot refers to. Bring the needed items into your character inventory and make space if your inventory is full. If a piece was dismantled or otherwise replaced, equip its replacement and overwrite the slot. Review the armor mods on that piece before saving, since a replacement may need its own setup.
5. Check Guardian Ranks if slots are locked
Bungie ties additional loadout slots to Guardian Ranks. Open the Guardian Ranks screen and look at the objectives and unlocks shown for your character. Complete and claim the relevant objective if you need more slots. This is also the first place to check if you are new and the feature appears locked.
If you already have an empty slot but the save option seems unavailable, confirm that you are using the Character screen and selecting the slot itself. For an equip failure, try again outside the activity and check whether its rules lock your gear. Keep a working slot for your usual build while testing changes, so you can quickly recover a known setup before your next mission.
More Destiny 2
-
PrismaticArt: Bungie
How to Unlock Prismatic in Destiny 210 Nov
-
StrandArt: Bungie
How to Unlock Strand in Destiny 210 Nov
-
GjallarhornArt: Bungie
How to Get Gjallarhorn in Destiny 2: And Out Fly the Wolves Quest and Catalyst Chests8 Nov
-
FafnirArt: Bungie
How to Get Fafnir in Destiny 2: Legendary Marks, Tenet of Bravery and the Catalyst8 Nov
Sources
This article was written by AI (Claude) and checked against the sources above. Games are updated regularly, so details may change.