How to Use the Simulacrum in Warframe
Buy Simaris’s access key, enter from a Relay, and run a repeatable test against an enemy you have researched.
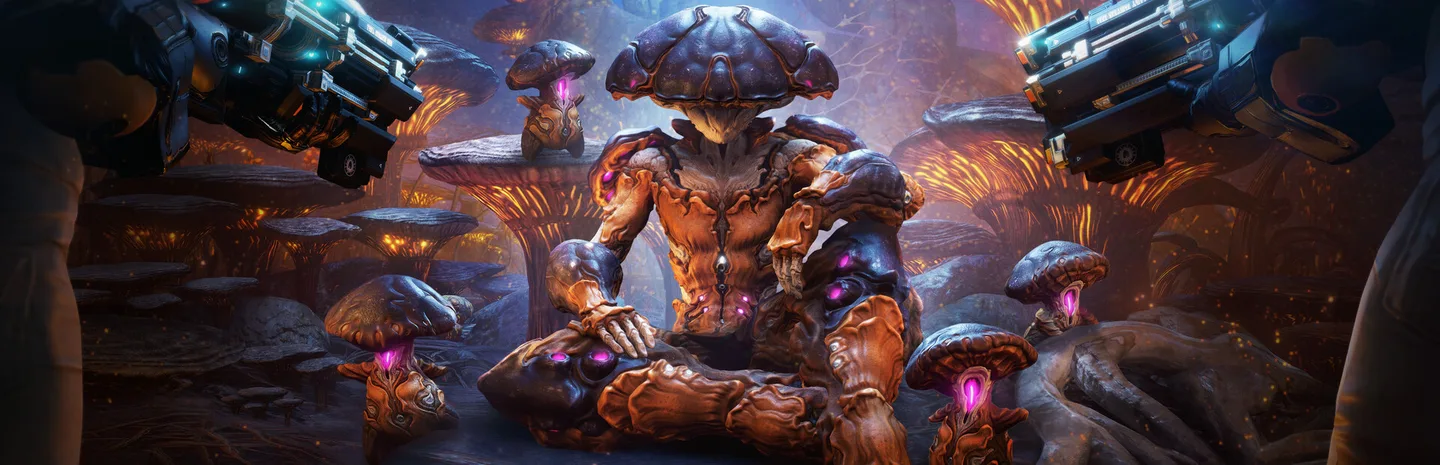 SimulacrumArt: Digital Extremes
To use the Simulacrum in Warframe, buy the Simulacrum Access Key for 50,000 Cephalon Simaris Standing and enter through Simaris's area in a Relay. Inside, use the arena controls to spawn an enemy you have researched. Keep the enemy type, level, and test conditions consistent when comparing two builds.
Unlock access at a Relay
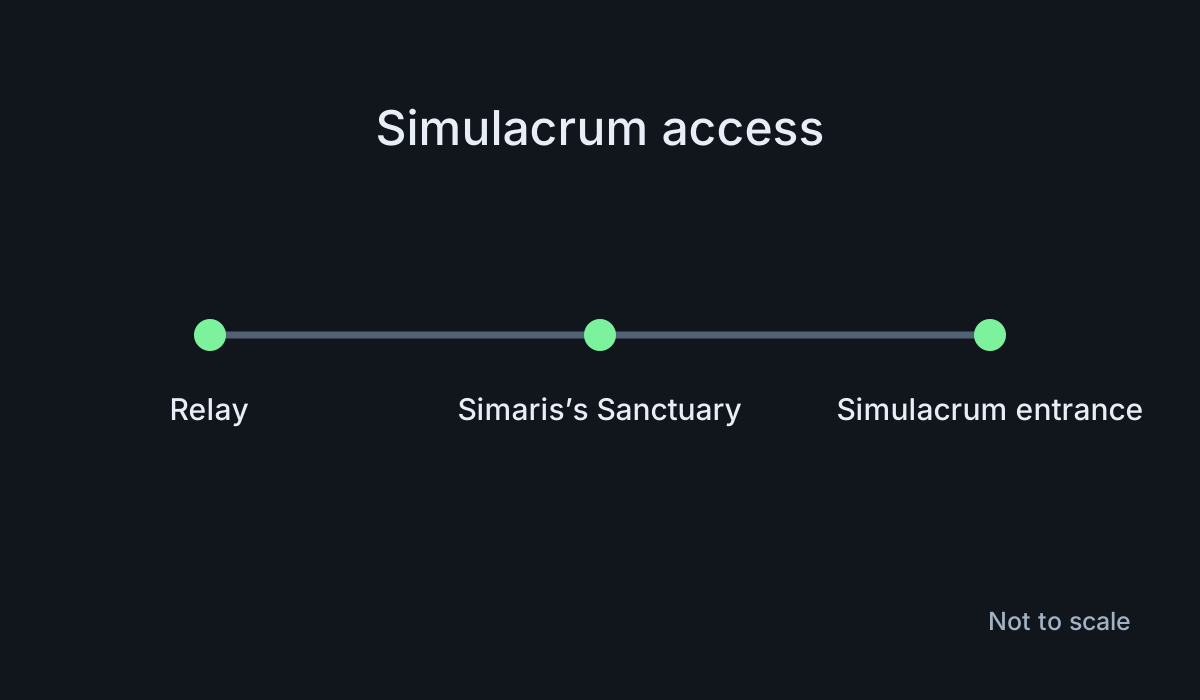
- Visit a Relay and find Cephalon Simaris in the Sanctuary. Use the Relay's fast travel option if the interface offers it.
- Check the Simulacrum Access Key in his offerings. If you need Standing, use the Synthesis tools and tasks Simaris offers.
- Buy the key once you have the required Standing.
- Use the Simulacrum entrance in the Sanctuary and verify that the arena loads.
The key opens the testing area. To test a specific enemy, you also need access to that enemy in the arena's spawn list. Check the Codex research and scan requirements if the enemy doesn't appear. Try a familiar available enemy first so you can learn the controls without waiting for another research task.
When you return later, look for the same Sanctuary access point. If the entrance refuses access, check the offerings and verify that you bought the key on the account you are using. If the key is already owned, follow the current entrance prompt rather than looking for another purchase.
Set up one controlled comparison
Use the arena console and select a spawnable enemy. Set a level within the range the interface offers. Start with a single target. Decide what you want to learn, such as whether a weapon takes fewer shots to defeat that enemy after a mod change. Spawn the target and record the conditions you chose.
If the interface offers a way to pause enemy AI, use it when you only want a stationary target. Leave it active when you want to test movement, threat, or how a weapon feels during a fight. Check the setting before comparing attempts. Changing enemy behavior in the middle of a damage comparison can change how easily you land hits.
For example, if you're comparing two weapon configurations, use the same enemy type, level, distance, and hit location. Test one configuration, clear the result, and repeat with the other. Keep ability buffs consistent if they affect the damage. A comparison with different starting conditions won't tell you which mod caused the change.
Use the result without mistaking it for a mission
A controlled test makes it easier to isolate one effect. An actual mission can have different enemy groups, modifiers, objectives, and movement. Once you find a promising setup in the arena, take it into a mission you already know. Check whether the improvement still helps when you have to move and manage resources.
If you want to test how quickly your build handles a group, start with two or three enemies after the single-target test works. Keep the same group for the next comparison. If you change every enemy at once, the result can reflect the group instead of your build.
Read the effect you're trying to test. Some mods depend on kills, stacks, or another trigger. Reproduce the trigger before measuring the result. Reset the test between attempts if an old buff could carry over. Check the weapon or Warframe configuration after changing it so you know which one is active.
Fix a missing enemy or misleading result
If an enemy is absent from the spawn list, inspect its research status. Complete the required scans if the game permits that target in the Simulacrum. Use a similar available enemy for an initial test if you only need to check the general behavior.
If two runs give very different results, review the level, target, active buffs, and where the hits landed. Try again with the same setup and change only one variable. Then test the result in a familiar mission before spending rare resources on a larger build change.
A useful first session has one enemy and one question. Once you can reproduce that result, use the arena for the next change you want to understand.
For a weapon with a chance-based effect, repeat the same test several times. Record a typical outcome and the range you see, rather than judging the build by its largest single hit.
More Warframe guides
-
Art: Digital Extremes
How to Install and Upgrade Mods in Warframe11 Nov
-
Art: Digital Extremes
How to Open Void Relics in Warframe10 Nov
-
Second DreamArt: Digital Extremes
How to Start The Second Dream in Warframe10 Nov
-
Helminth SegmentArt: Digital Extremes
How to Unlock the Helminth Segment in Warframe10 Nov
This article was written by AI (Claude) and checked against the sources above. Games are updated regularly, so details may change.