How to Open Void Relics in Warframe
Equip a relic for a matching Void Fissure, collect ten Reactant, and pick your reward at the end of the mission.
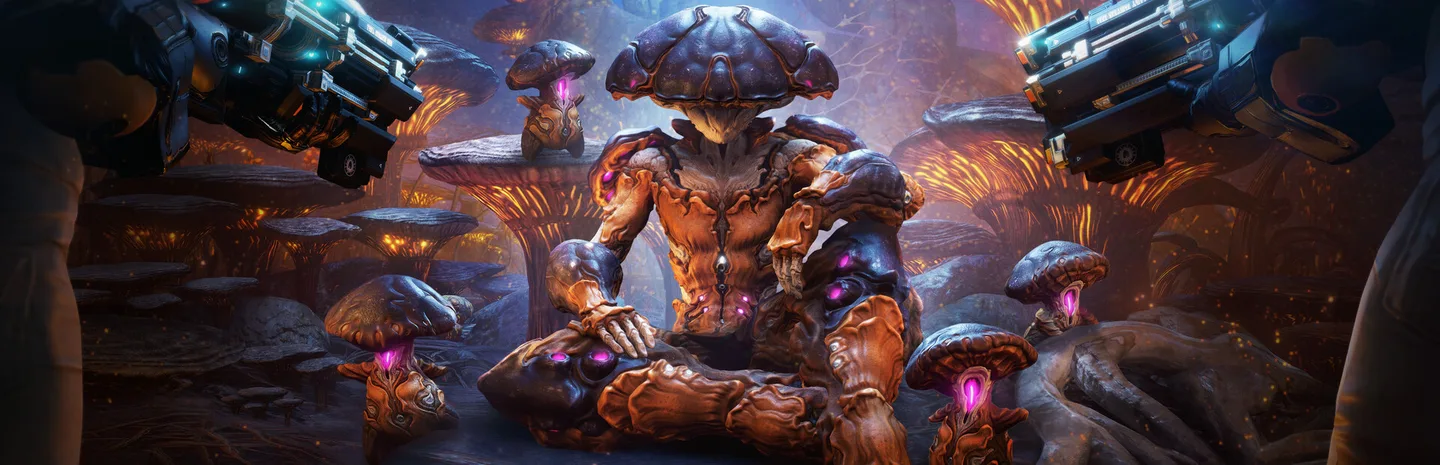 Art: Digital Extremes
Choose a Void Fissure in Navigation and equip a relic that matches the fissure's era. Collect 10 Reactant during the mission before finishing it, then choose a reward when the relics open. In a squad, a teammate's opened relic can add another reward choice. Check that your own Reactant counter reached ten before heading to extraction.
1. Choose the relic before choosing the mission
Inspect your relics and pick one that can contain a part or blueprint you want. Read the era in its name. A Lith relic needs a corresponding Lith fissure, and the other eras work the same way. You can bring an unrefined relic for a first run while you learn how the mission and reward screen work.
If you are targeting a particular part, note its full name. Several Prime parts can have similar labels, particularly when you are collecting pieces for more than one item. Check whether the relic contains the exact piece you are missing. If you only want to learn the loop, pick a relic you are comfortable spending and take a mission type you already know.
2. Equip the relic and collect Reactant
- Open Navigation and look for the Void Fissures list.
- Select a fissure with the same era as your relic.
- Equip the intended relic when prompted before launching.
- Play the mission and collect Reactant dropped by eligible enemies until your counter reaches 10.
- Finish the mission or reward interval and select a reward from the results.
Watch for corrupted enemies and Reactant markers as you move through the mission. If you are clearing rooms very quickly but little Reactant is appearing, give the fissures time to corrupt more enemies. In a squad, keep an eye on your own counter, especially if you loaded in after the other players had started clearing the area.
3. Check the counter before extracting
Once the counter shows ten, your relic is ready for the mission's reward step. You still need to complete the relevant objective. If you reach extraction with fewer than ten, look for remaining enemies and Reactant before leaving. Tell your squad if you need a moment so they know why you are not ready to extract.
In an endless mission, pay attention when the next round asks for another relic. Treat each interval as a fresh check. If you intend to keep opening relics, select another one when offered and collect Reactant for that interval. Decide whether you want to continue before spending another relic on a run your group plans to leave.
4. Select the reward you actually need
Read the reward names before confirming. If the squad opened several relics, you can select a reward revealed by a teammate. Pick the item that matches your goal rather than accepting the first option automatically. If you are farming a specific part with friends, tell them which one you need before the mission so everyone can recognize it on the screen.
If you want to improve your odds at a particular uncommon or rare reward, use Void Traces to refine the relic before the next run. Check the probabilities in the preview. Refining changes the odds. You can still open an Intact relic normally, and there is no need to refine one merely to complete the fissure.
5. Fix a relic that did not open
If there is no reward choice, check whether you equipped a relic and whether you reached ten Reactant. Confirm that you joined a matching fissure rather than a regular version of the mission. If a specific reward never appears, check the relic's drop list again. Opening more relics of the wrong type will not produce the part you are looking for.
After a successful run, check the reward in your inventory or Foundry before launching another one. Keep a note of which pieces are still missing when you are building a set. That makes it easier to choose the next relic and stop using a relic once you already have the item it was meant to provide.
If you plan to run several fissures, sort the relics by the parts you still need first. You can then select the next relic quickly when the mission asks without guessing which era it belongs to.
More Warframe
-
Second DreamArt: Digital Extremes
How to Start The Second Dream in Warframe10 Nov
-
Helminth SegmentArt: Digital Extremes
How to Unlock the Helminth Segment in Warframe10 Nov
-
Steel PathArt: Digital Extremes
How to Unlock The Steel Path in Warframe10 Nov
-
PlatinumArt: Digital Extremes
How to Get Platinum in Warframe for Free: Trading, What Sells, and the New Riven Rules8 Nov
Sources
This article was written by AI (Claude) and checked against the sources above. Games are updated regularly, so details may change.