WoW: Forever Horde Leveling Route, Levels 25–30 (Step by Step)
A step-by-step Horde route from about level 25 to 30 in WoW: Forever: Splintertree Post in Ashenvale, Freewind Post and Darkcloud Pinnacle in Thousand Needles, then the Shimmering Flats.
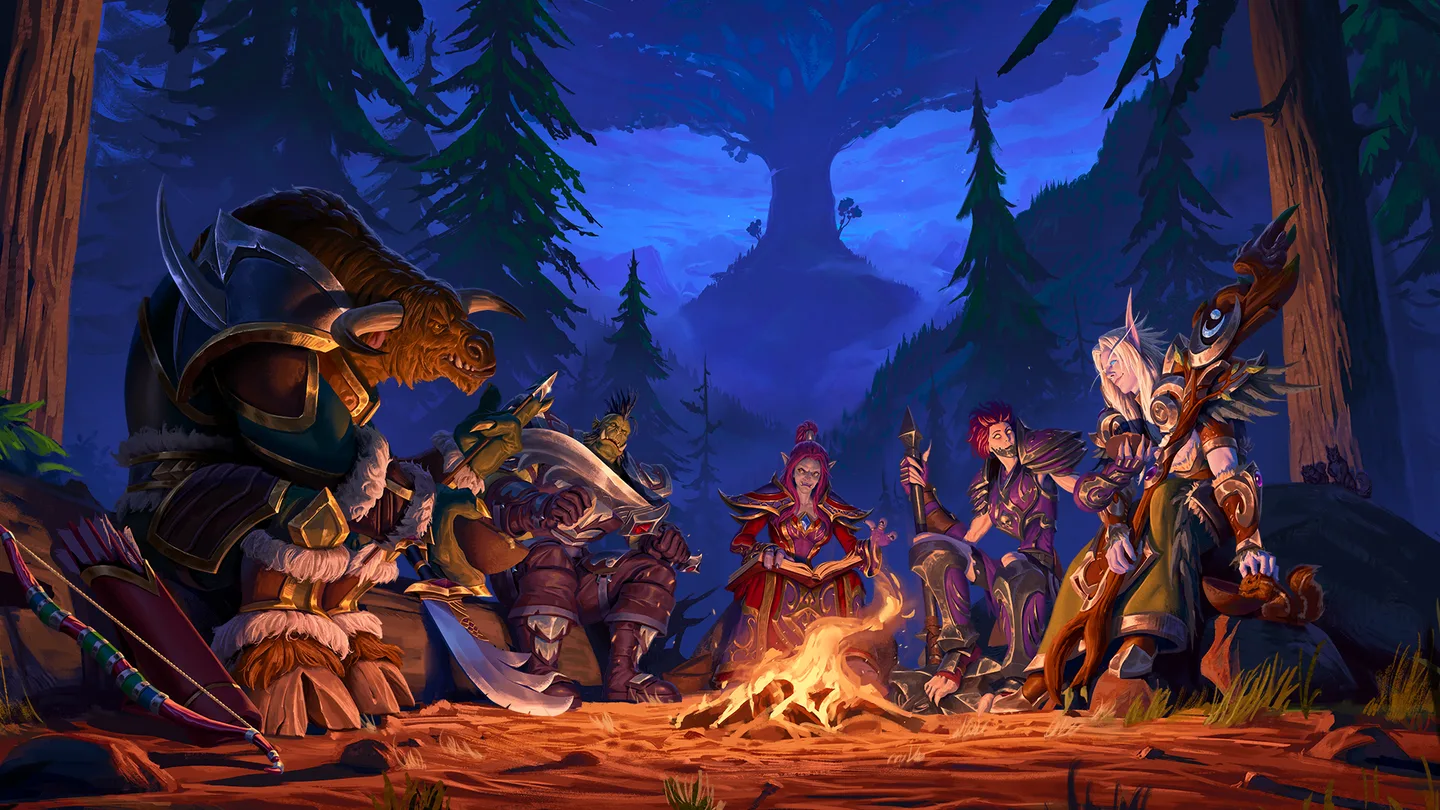 Art: Blizzard Entertainment
This chapter takes a Horde character from level 24–25 to about level 30: Splintertree Post and the south of Ashenvale, then Freewind Post, Highperch and Darkcloud Pinnacle in Thousand Needles, and the first quests on the Shimmering Flats. You end with the Splintertree and Freewind Post flight paths, your hearthstone set to Freewind Post, and a pocket full of level 30 quests for the next chapter. The route is checked against WoW: Forever as live on November 20, 2026.
Where this chapter starts: at Zoram'gar Outpost in Ashenvale at about level 24–25. You have just finished the previous chapter: the Zoram'gar flight path is unlocked, the Naga, Troll Charm and Thistlefur quests are turned in, and your hearthstone is still set to The Crossroads. You have not been to Splintertree Post yet.
Quick facts
| Levels | 25–30 |
| Zones, in order | Ashenvale (Splintertree Post) → The Barrens (Camp Taurajo) → Thousand Needles (Freewind Post, Highperch, Darkcloud Pinnacle) → Thousand Needles (Shimmering Flats) |
| Hearth set to | Freewind Post (set in this chapter) |
| Flight paths to grab | Splintertree Post, Freewind Post |
| Dungeons worth doing (optional) | Blackfathom Deeps, if you did not run it in the last chapter |
| Ends at | The Shimmering Flats, Thousand Needles, around level 29–30 |
Ashenvale (Splintertree Post and the south) – levels 24–26
Before you go: Splintertree Post is not on your flight map yet, so you walk there once. Take every quest on the list before you leave town – the south-western loop around Mystral Lake and the hills around Night Run both start from here.
- Level check: you should be about level 24 and close to 25, standing in Zoram'gar Outpost –
/way 12.2 33.8 Andruk. - Hearth to The Crossroads.
- Go to Splintertree Post: take the Gold Road north to Mor'shan Rampart, follow the road into Ashenvale and turn east at the fork.
- Get flight path at Vhulgra in Splintertree Post –
/way 73.2 61.6 Vhulgra. - Accept The Ashenvale Hunt (Senani Thunderheart) –
/way 73.8 61.5 Senani Thunderheart. If you still carry the Barrens version of the quest, hand that in first. - Accept Stonetalon Standstill (Mastok Wrilehiss) –
/way 73.6 60.0 Mastok Wrilehiss. - Accept Satyr Horns (Pixel) –
/way 73.1 61.5 Pixel. - Accept Ashenvale Outrunners (Kuray'bin), just south of town –
/way 71.1 68.1 Kuray'bin. - Kill 9 Ashenvale Outrunners, the stealthed night elves around Kuray'bin's camp, for Ashenvale Outrunners. Sharptalon, a much higher-level hippogryph, patrols nearby – keep away from him.
- Turn in Ashenvale Outrunners (Kuray'bin).
- Go to Torek, a little south-west of Kuray'bin –
/way 68.3 75.3 Torek. - Accept Torek's Assault (Torek) – it starts when you say yes, so be at full health.
- Escort Torek's raiders against the Silverwing Outpost and Kill Duriel Moonfire for Torek's Assault. Let the raiders pull the Sentinels and Warriors first.
- Turn in Torek's Assault (Ertog Ragetusk, Splintertree Post) –
/way 73.0 62.5 Ertog Ragetusk. Pick the Polished Walking Staff or the Slatemetal Cutlass, whichever helps your class. - Go to Mystral Lake, south-west of Splintertree Post and due east of the Talondeep Path tunnel, and scout the gazebo on the lake for Stonetalon Standstill.
- Kill 12 Befouled Water Elementals around the lake for Stonetalon Standstill. While you are at it, watch for the named elemental Tideress – if she drops a Befouled Water Globe, Use it to start The Befouled Element.
- Kill Ursangous, the bear that wanders west of the lake, and Loot Ursangous's Paw – it starts Ursangous's Paw by itself. Do not fight the level 35 Wandering Protector that walks the western approach.
- Go to Night Run, the satyr camp in the hills north-west of Splintertree Post, and Collect 16 Satyr Horns from the Felmusk satyrs for Satyr Horns. They can silence casters, so pull them one at a time.
- Kill Shadumbra, the nightsaber that prowls between Night Run and Raynewood Retreat, and Loot Shadumbra's Head – it starts Shadumbra's Head. Steer clear of the Cenarion Vindicators at Raynewood Retreat.
- Go to Splintertree Post and Turn in Ursangous's Paw and Shadumbra's Head (Senani Thunderheart), Satyr Horns (Pixel), and Stonetalon Standstill and The Befouled Element (Mastok Wrilehiss).
- Set hearth at Innkeeper Kaylisk in the Splintertree inn.
- Optional: Sharptalon's Claw – Sharptalon is a level 31 hippogryph and hard to solo. Do not do this unless you have a partner: deal more than half his damage or he drops no claw. Hand the claw in to Senani Thunderheart, then take The Hunt Completed (Senani Thunderheart) for a cloak and more experience.
- Level check: you should be around level 25 to 26.
The Barrens (Camp Taurajo and the Great Lift) – levels 26–27
Before you go: the flight network does not connect Splintertree Post to Camp Taurajo directly – change at The Crossroads.
- Fly to The Crossroads, then Fly to Camp Taurajo.
- Accept A New Ore Sample (Tatternack Steelforge, Camp Taurajo) – you need level 25 for it, which you now have. You find the ore in Thousand Needles later.
- Go to the Great Lift on the road south from Camp Taurajo and Accept Message to Freewind Post (Brave Moonhorn, at the top of the lift) –
/way 32.2 22.2 Brave Moonhorn(Thousand Needles). - Optional: Calling in the Reserves ends at Grish Longrunner right next to Brave Moonhorn (
/way 31.9 21.6 Grish Longrunner), but the quest starts with Maggran Earthbinder at Sun Rock Retreat. Only take it if you are passing through Sun Rock anyway. - Go to the Great Lift platform and ride down – step on and off only while it is standing still.
Thousand Needles (Freewind Post, Highperch) – levels 26–28
Before you go: Freewind Post sits on its own mesa in the west. Two lifts lead down from it – one on the north-east side, one on the south-west side – so work it in two trips: north-east first, then south-west and west.
- Go to Freewind Post, ride the lift up the mesa and Get flight path at the flight master –
/way 45.0 49.1 Freewind Post. - Turn in Message to Freewind Post and Accept Pacify the Centaur (Cliffwatcher Longhorn) –
/way 45.7 50.7 Cliffwatcher Longhorn. - Accept Alien Egg (Hagar Lightninghoof) –
/way 44.6 50.3 Hagar Lightninghoof. - Accept Stolen Freewind Supplies and Stop the Screeching (Jandia) –
/way 46.2 51.5 Jandia. Both are new in Forever. - Accept Wind Rider (Elu) –
/way 44.9 48.9 Elu. - Go to the lift on the north-east side of the mesa and ride down.
- Kill 12 Galak Scouts, 10 Galak Wranglers and 6 Galak Windchasers around the foot of the lift for Pacify the Centaur.
- Accept Test of Faith (Dorn Plainstalker, east of the post) –
/way 54.0 41.5 Dorn Plainstalker. Follow the quest tracker to the planks, walk to the very end and jump: you are teleported safely. - Turn in Test of Faith (Dorn Plainstalker).
- Kill Gibblesnik and Gravelsnout Diggers and Surveyors in the east of the canyon floor until one drops the Unrefined Ore Sample for A New Ore Sample.
- Loot the Alien Egg for Alien Egg – it appears in one of three spots in the east of the canyon, so check each in turn.
- Go to Freewind Post, ride the lift back up and Turn in Pacify the Centaur (Cliffwatcher Longhorn).
- Accept Grimtotem Spying (Cliffwatcher Longhorn) – keep it for the Darkcloud Pinnacle trip later.
- Turn in Alien Egg and Accept Serpent Wild (Hagar Lightninghoof).
- Go to the lift on the south-west side of the mesa and ride down.
- Kill 5 Screeching Harpies, 5 Screeching Roguefeathers and 5 Screeching Windcallers for Stop the Screeching in Roguefeather Den, the harpy cave in the south-west –
/way 26.9 52.3 Roguefeather Den. Windcallers stun, so pull one at a time. - Collect 8 Stolen Freewind Supplies from the floor of Roguefeather Den for Stolen Freewind Supplies.
- Go to Highperch in the west and climb the plateau through the canyon gap beside Whitereach Post.
- Accept Homeward Bound (Pao'ka Swiftmountain) and Escort him through Highperch to Camp E'thok. Three wyverns attack once he reaches the heart of the plateau.
- Collect 10 Highperch Wyvern Eggs from the nests on the plateau for Wind Rider.
- Turn in Serpent Wild and Homeward Bound (Motega Firemane, Camp E'thok) –
/way 21.5 32.4 Motega Firemane. - Optional: Hypercapacitor Gizmo (Wizlo Bearingshiner, in the same camp) is marked as an elite fight – take it only with a partner.
- Go to Freewind Post by the south-west lift. Turn in Wind Rider (Elu), then Stolen Freewind Supplies and Stop the Screeching (Jandia).
- Set hearth at Innkeeper Abeqwa in the Freewind Post inn.
- Level check: you should be about level 27, heading for 28.
Thousand Needles (Darkcloud Pinnacle) – levels 27–29
Before you go: all three of these quests lead to the same cliffs north of Freewind Post, so take them together and clear the Grimtotem tents in one pass.
- Accept WANTED: Arnak Grimtotem from the Wanted Poster on the mesa at Freewind Post – the poster stands next to Cliffwatcher Longhorn.
- Go to Darkcloud Pinnacle, the Grimtotem stronghold on the cliffs north of the post – ride the north-east lift down and follow the canyon.
- Collect Secret Note #1, #2 and #3 from Darkcloud Pinnacle, the big tent and the tent on the eastern plateau for Grimtotem Spying.
- Kill Arnak Grimtotem, a level 29 Grimtotem on the cliffs near the Pinnacle, and Loot Arnak's Hoof for WANTED: Arnak Grimtotem.
- Accept Free at Last (Lakota Windsong) –
/way 38.0 26.6 Lakota Windsong. - Escort Lakota down the Pinnacle. Two Grimtotems appear at each platform she reaches, so clear the next platform before she gets there.
- Turn in Free at Last (Thalia Amberhide, Freewind Post).
- Turn in Grimtotem Spying and WANTED: Arnak Grimtotem (Cliffwatcher Longhorn).
- Level check: you should be around level 28 to 29.
Thousand Needles (the Shimmering Flats) – levels 28–30
Before you go: the Flats take both factions, and their quests unlock from level 28 to 29. Everything on this list is a simple collect-and-kill quest around the race track, and most of them overlap.
- Go to the Shimmering Flats: follow the road east out of the canyon to the Mirage Raceway –
/way 77.9 77.2 Kravel Koalbeard. Stay on the road; the rare elite Vile Sting hunts the sand. - Accept Salt Flat Venom (Fizzle Brassbolts) –
/way 78.0 77.1 Fizzle Brassbolts. - Accept Hardened Shells (Wizzle Brassbolts) –
/way 78.1 77.1 Wizzle Brassbolts. - Accept Rocket Car Parts (Kravel Koalbeard).
- Accept Load Lightening (Pozzik) –
/way 80.1 75.9 Pozzik. - Accept A Bump in the Road (Trackmaster Zherin) –
/way 81.6 77.9 Trackmaster Zherin. - Kill 10 Saltstone Basilisks, 10 Saltstone Crystalhides and 6 Saltstone Gazers for A Bump in the Road.
- Collect 6 Salty Scorpid Venom, 9 Hardened Tortoise Shells and 10 Hollow Vulture Bones from the matching Flats animals while you kill.
- Loot 30 Rocket Car Parts from the debris scattered around the race track and the Flats for Rocket Car Parts.
- Turn in Salt Flat Venom, Hardened Shells, Rocket Car Parts, Load Lightening and A Bump in the Road at their givers.
- Level check: you should be around level 29, close to 30.
- Dungeon Blackfathom Deeps (optional) – a good way to close the last stretch if you are a little short. See our Blackfathom Deeps quest guide.
Tips for this chapter
- Level 26 to 30 class quests are open. Mages can get the level 26 robes (Astral Knot and Nether-lace Garment). Warriors can start Berserker Stance and the Whirlwind Axe (Berserker Stance, Whirlwind Axe), Warlocks the Felhunter (Succubus and Felhunter), and Shamans the level 30 weapon (The Tempest's Weapons).
- Visit your class trainer at levels 26, 28 and 30 – new spell ranks make the Darkcloud and Flats pulls much smoother.
- Quests left out on purpose: Test of Endurance, Sacred Fire and Arikara, which are elite fights; the long The Sacred Flame chain, which starts in Thunder Bluff; Freedom to Ruul, back in Thistlefur Hold; and King of the Foulweald and Vorsha the Lasher, which are elite and best done with a group. Come back for the safe ones if you are short of experience.
- Elite and group quests are marked Optional. Skip them if you are alone – the rest of the route has enough experience to take you to about level 30.
- Hand-off to the next chapter: you finish on the Shimmering Flats with your hearthstone set to Freewind Post. If any Flats quest is still open, finish it first – Wharfmaster Dizzywig (Kravel Koalbeard) opens once you reach 30.
Previous: WoW: Forever Horde Leveling Route, Levels 20–25 (Step by Step) · Next: WoW: Forever Horde Leveling Route, Levels 30–35 (Step by Step)
More World of Warcraft: Forever guides
-
Berserker Stance as a WarriorArt: Blizzard Entertainment
How to Get Berserker Stance as a Warrior in WoW: Forever (Level 30 Quest)19 Nov
-
Whirlwind AxeArt: Blizzard Entertainment
How to Get the Whirlwind Axe in WoW: Forever (Warrior Level 30 Quest and Cyclonian)10 Nov
-
Succubus and Felhunter as a WarlockArt: Blizzard Entertainment
How to Get the Succubus and Felhunter as a Warlock in WoW: Forever (Level 20 and 30 Quests)10 Nov
-
Shaman Level 30 WeaponArt: Blizzard Entertainment
How to Get the Shaman Level 30 Weapon in WoW: Forever (The Tempest's Weapons)19 Nov
Sources
- Ashenvale Leveling Guide (WoW Forever) – Bindon Forever
- Thousand Needles Leveling Guide (WoW Forever) – Bindon Forever
- WoW Forever Horde Leveling: Zones for Levels 1–60 – wow.gg
- WoW Forever Flight Paths: All Flight Masters – Foreverguide
- How to Get to Splintertree Post in Ashenvale – wowx5
- Stolen Freewind Supplies – ForeverChanges
- Stop the Screeching – ForeverChanges
- Pacify the Centaur – ForeverChanges
- Ashenvale Outrunners – ForeverChanges
This article was written by AI (Claude) and checked against the sources above. Games are updated regularly, so details may change.