How to Get the Glide Armor Set in Zelda: Tears of the Kingdom
Win the three Dive Ceremonies to collect the Glide Shirt, Tights and Mask, then upgrade the set for Impact Proof.
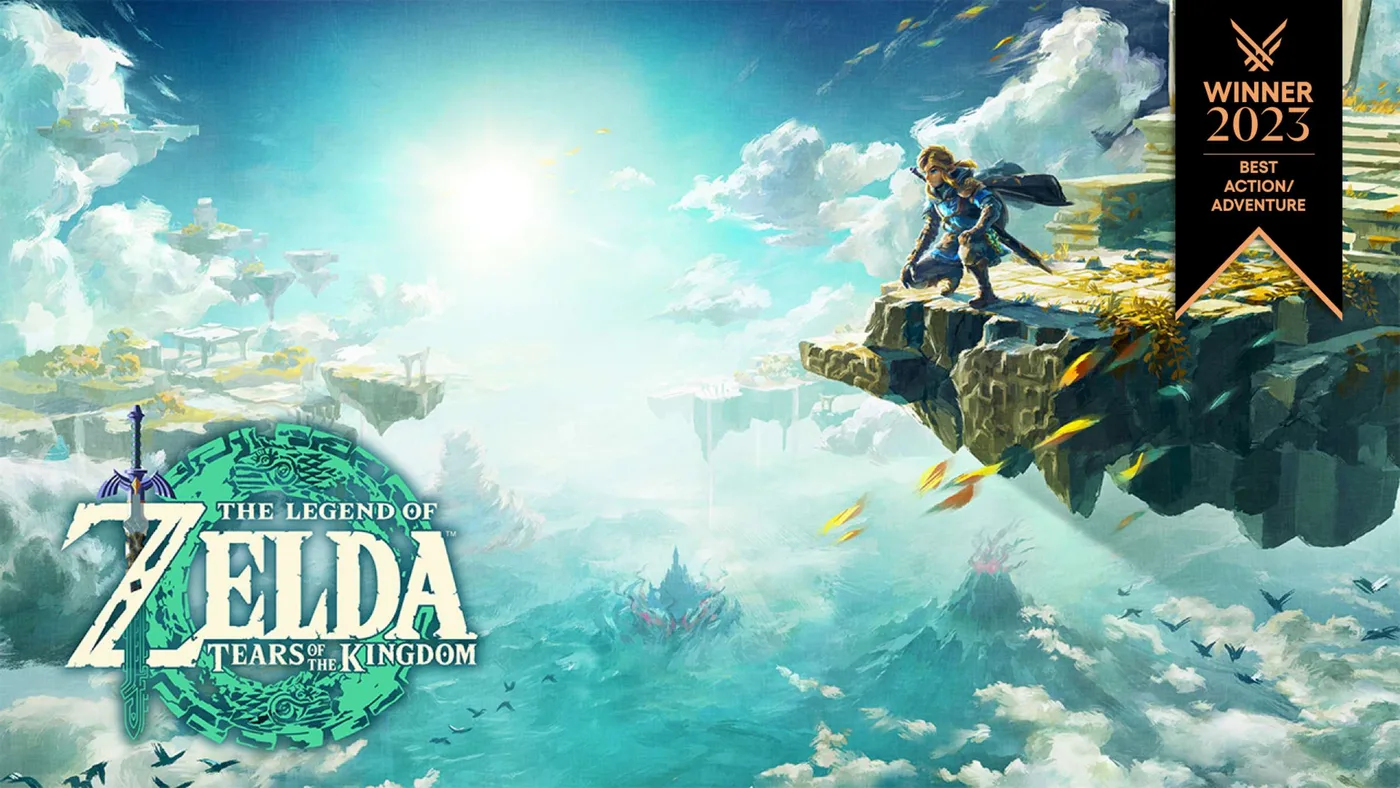 Glide Armor SetArt: Nintendo
The Glide Armor set comes from three skydiving challenges in Tears of the Kingdom: Courage Island gives the Shirt, Bravery Island gives the Tights, and Valor Island gives the Mask. Complete each island's timed Dive Ceremony in under 35 seconds. Collecting the clothes improves your control while skydiving; preventing fall damage requires an additional step, upgrading every piece twice.
@img
Before leaving the ground
Bring your paraglider, several Zonai Charges, stamina-restoring food, and cold protection for the Mount Lanayru approach. Each paid attempt costs one Zonai Charge, so carrying only three leaves no room for retries. You do not need to finish the main story to start collecting the set.
I recommend Courage, then Bravery, then Valor. You can tackle them in another order, but wearing each reward makes steering through the later courses easier. These are sky islands with a vertical stack of obstacles and a pool at the bottom, not armor caves on the surface.
1. Win the Glide Shirt on Courage Island
Launch from Lindor's Brow Skyview Tower and turn toward the tall spiral of floating rocks to the southwest. Aim for Courage Island above Hyrule Ridge. If you arrive at the upper platform, examine the green-ring mechanism and follow its rings downward into the pool. This introductory descent opens the ceremony area below.
Speak to the Steward Construct beside the landing pool. The free introduction and the paid timed challenge are different steps: finishing the introductory dive alone does not award the shirt. Ask to attempt the timed ceremony, pay the charge, and pass through every green ring before landing.
Start steering toward the next ring as soon as you clear the current one. A short correction early is easier than a desperate sideways movement immediately above the target. Hold the faster dive only when you are lined up; overshooting one ring can waste the entire attempt.
After a successful run, speak to the construct and collect the Glide Shirt. Equip it before traveling onward. Activate the nearby shrine as a return point so a failed approach or a supply trip does not require another tower flight.
2. Collect the Glide Tights on Bravery Island
Use Thyphlo Ruins Skyview Tower in northern Hyrule and travel south toward Bravery Island, above the Great Hyrule Forest. The lower ceremony area is around 0163, 1972, 0759. That last coordinate is height: a marker directly above you is not necessarily the landing area you need.
This is a longer approach than Courage. Use intermediate islands where necessary, land before your stamina is exhausted, and recover before continuing. Save a stamina meal for the stretch where there is no safe landing beneath you.
Find the Steward Construct, complete any introductory run it requests, then enter the timed challenge. The objective remains the same: every ring, the pool, and a time under 35 seconds. Clouds and the shifting view make this course less forgiving, so keep your camera pointed down the route rather than toward the horizon.
Wear the shirt you already earned. If a ring suddenly seems to disappear, avoid diving faster while searching for it. Stabilize the view first, then commit to the next descent. Claim the tights and equip both pieces for the final ceremony.
3. Earn the Glide Mask on Valor Island
Launch from Mount Lanayru Skyview Tower and head northeast through the South Lanayru Sky Archipelago. Valor Island's lower area is around 4544, -0845, 1121. Use nearby islands to break up the journey instead of trying to stretch an empty stamina wheel across the entire gap.
Bring cold protection for the journey to the tower and the approach. Once you reach the construct, follow the same introduction-and-timed-attempt routine. Valor's obstacles make reckless straight-down diving particularly dangerous: the rings do not mean the space below them is clear all the way to the pool.
Use controlled descents and the paraglider when you need to correct your position around rock. Avoid treating the 35-second target as a demand to hold the dive button continuously. A clean line through each ring beats a faster approach that collides with an island.
4. Upgrade the whole set for Impact Proof
Visit unlocked Great Fairies and upgrade the Mask, Shirt, and Tights to at least two stars each. Wear all three upgraded pieces together to activate Impact Proof. Owning the set, upgrading only the shirt, or replacing the mask with another helmet does not provide the complete bonus.
Until that bonus is active, continue using the paraglider or safe water landings. The unupgraded set helps you steer; it is not permission to hit solid ground at full speed.
If the reward does not appear
Check that you completed the paid timed ceremony rather than only the introductory descent. Missing a ring or exceeding the time means another attempt. Speak to the construct after landing, and check the armor inventory before assuming the piece was lost. Once all three rewards are collected, the remaining task is the Great Fairy upgrades, not another round of island challenges.
More The Legend of Zelda: Tears of the Kingdom guides
-
RecallArt: Nintendo
How to Use Recall on Falling Ruins in The Legend of Zelda: Tears of the Kingdom11 Nov
-
Fan Raft with UltrahandArt: Nintendo
How to Build a Fan Raft with Ultrahand in The Legend of Zelda: Tears of the Kingdom11 Nov
-
Master SwordArt: Nintendo
How to Get the Master Sword in Zelda: Tears of the Kingdom1 Oct
This article was written by AI (Claude) and checked against the sources above. Games are updated regularly, so details may change.