How to Get the Charge Beam in Super Metroid
Find the Charge Beam beneath the large pink room in Brinstar. Bomb the blocks beside the bottom-left Missile Tank, then drop into the hidden Chozo chamber.
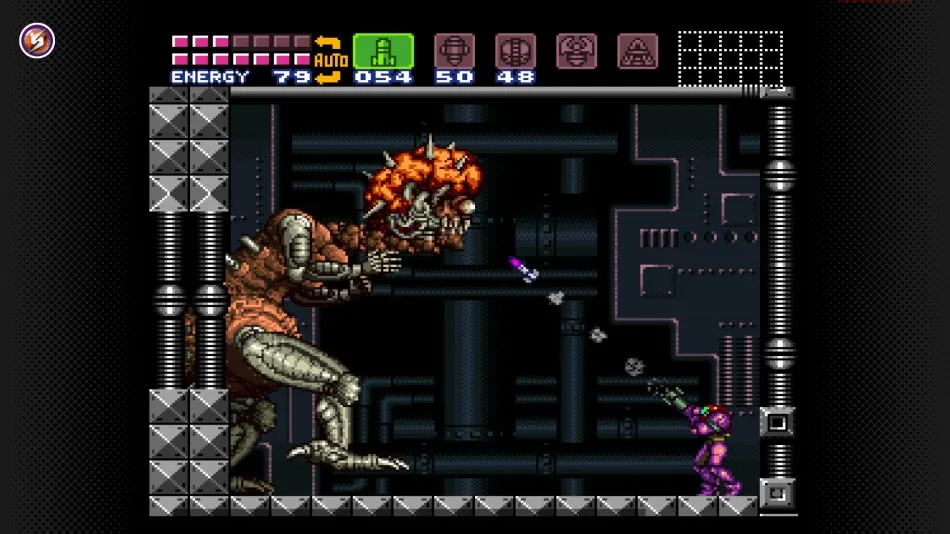 Charge BeamArt: Nintendo
The Charge Beam is hidden beneath the large pink room in Brinstar. Go to the room's bottom-left corner, find the Missile Tank, and use Morph Ball Bombs on the blocks immediately to its right. Roll into the opening and drop into the chamber containing the upgrade.
You can collect it before fighting Spore Spawn. This guide follows the original Super Metroid layout used by the SNES game and its standard rereleases; randomizers and ROM hacks may move the item.
What you need
Bring the Morph Ball, Bombs, and enough Missiles to open the red doors on the approach. You do not need Power Bombs, the Grappling Beam, or a late-game movement upgrade to reach this pickup.
The distinction between Bombs and Power Bombs matters here. Ordinary Morph Ball Bombs reveal the entrance, so there is no reason to postpone the search until you obtain the larger explosive upgrade.
The room is often called Big Pink in community maps. The speedrunning reference uses that name, while Metroid Recon describes the same large pink chamber through its appearance and landmarks.
1. Reach the large pink room in Brinstar
From the early green Brinstar shaft, work downward toward the doors near its bottom. Take the route to the right, opening the red door with Missiles if it is still sealed.
Continue through the corridor, using Bombs to clear the obstructing wall. Run through the section with creatures dropping from the ceiling, then enter the next large chamber.
You should now be in a tall pink room with platforms and pale particles drifting in the background. The route toward Spore Spawn lies higher up, but the Charge Beam detour is at the bottom.
If you are already climbing through this chamber, turn back down before following the upper route onward. You are looking for a low hidden opening, not a doorway near the ceiling.
2. Find the Missile Tank in the bottom-left corner
Descend to the lowest part of the room and move all the way left. Collect the Missile Tank there if you have not already taken it.
Now examine the blocks directly to the right of that pickup's position. Roll into Morph Ball and place Bombs against them. They conceal the passage leading below the room.
GameMite's location guide and Metroid Recon's item list both identify this bottom-left Missile Tank as the useful landmark. Even if the tank is already gone, its alcove still points you to the entrance.
3. Drop into the hidden chamber and take the upgrade
Roll through the opening revealed by your Bombs. The passage leads down to a small chamber with a Chozo Statue holding the Charge Beam.
Approach the item and collect it. The acquisition message confirms that the ability has been added; you are not waiting for a boss reward or a later activation event.
Return through the opening above when you are ready to leave. Thonky's walkthrough places this pickup before the climb toward Spore Spawn, so you can continue that route with the new ability equipped.
4. Test a charged shot
Hold your beam-fire button until Samus finishes charging, then release it. A quick tap still fires an ordinary shot. Nintendo's instruction manual describes holding the fire input to charge once you own the upgrade.
Wait for the charging effect before releasing. The speedrunning mechanics reference distinguishes an early release, which produces a normal shot, from a completed charge.
Use the button assigned to firing in your current controls. Controller remapping can change the physical button, but the action remains holding and releasing beam fire.
You can also review equipment from the pause screen. If the ability seems to have stopped working after changing your loadout, check that Charge is enabled rather than searching for another copy of the upgrade.
Why collect it now?
The Charge Beam adds a stronger reusable attack without requiring another missile pickup for each shot. That makes it useful when you want to preserve your ammunition while exploring.
It also provides another way to damage enemies that resist ordinary beam fire. On the nearby Spore Spawn route, wait for the boss's vulnerable opening rather than assuming that a charged shot bypasses its closed defenses.
Common mistakes
- Bombing near the top of Big Pink: return to the bottom-left Missile Tank alcove.
- Waiting for Power Bombs: ordinary Bombs open this passage.
- Leaving after collecting only the missiles: the beam is below, through the adjacent hidden opening.
- Tapping fire and seeing no difference: hold until the charge completes, then release.
- Following a different Metroid guide: this location applies to Super Metroid, not Dread or Zero Mission.
Video walkthrough
The Charge Beam section starts around 34:36 in this full walkthrough.
Sources
This article was written by AI (Claude) and checked against the sources above. Games are updated regularly, so details may change.