Best Help Wanted Build in Dead by Daylight After the 10.2.0 Perk Overhaul
Help Wanted got one of the biggest kill-rate jumps after 10.2.0. Here's a four-perk generator build around it, how to unlock each perk and how to play it.
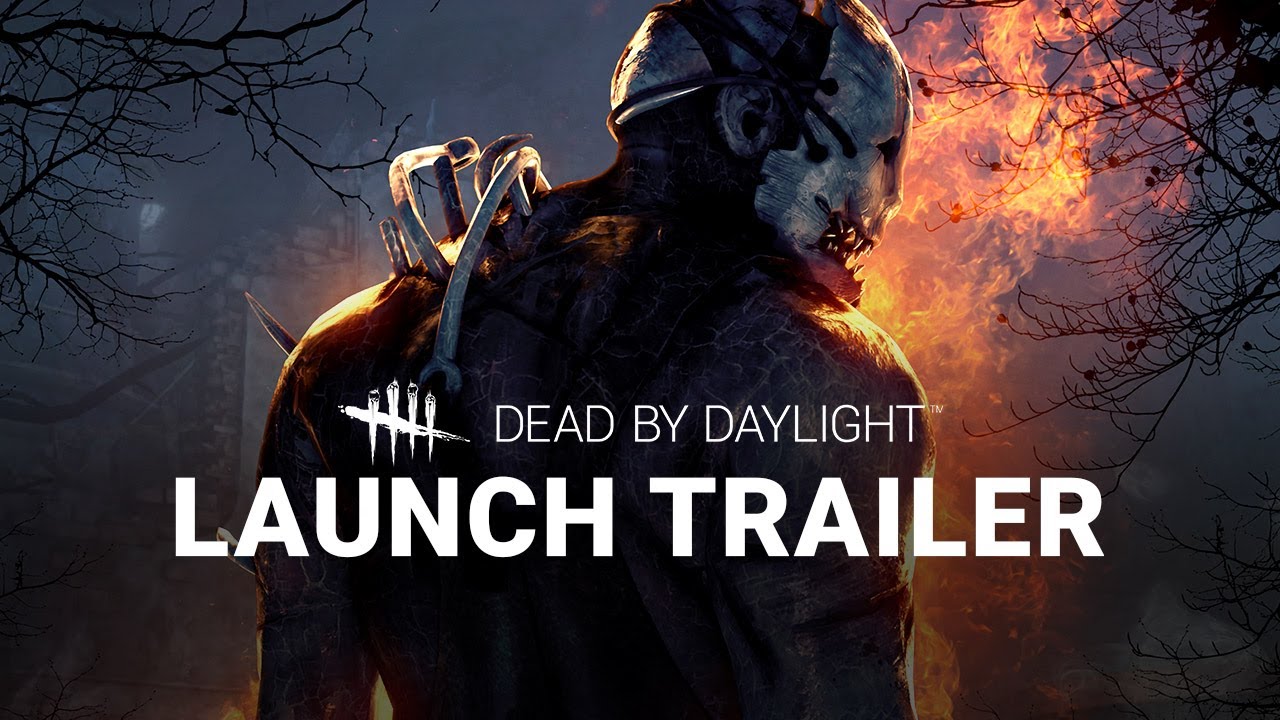
Patch 10.2.0 shook up dozens of perks, and a few weeks later Behaviour's own numbers show which Killer perks came out on top. In the October community stream, the studio said Help Wanted, Undone and Scourge Hook: Monstrous Shrine saw some of the biggest jumps in Killer usage, and Help Wanted was also among the perks with the biggest increase in kill rate.
So it makes sense to put them in one loadout. This guide covers a four-perk generator-pressure build around Help Wanted, where each perk comes from, and how to play it. It's correct for the live 10.2.x version of the game in late October 2026.
The build at a glance
| Perk | Where it comes from | What it does for the build |
|---|---|---|
| Help Wanted | The Animatronic (Five Nights at Freddy's chapter) | Turns kicked Generators into traps that reward you when Survivors finish them |
| Undone | The Unknown | Turns hooks into big, blocking Generator kicks |
| Scourge Hook: Monstrous Shrine | General perk (all Killers) | Regresses idle Generators while you're away from a Scourge Hook |
| Agitation | The Trapper | Gets you to a hook faster, which feeds the other three |
The idea is simple: every hook powers up your next Generator kick, every kick compromises a Generator, and every completed compromised Generator gives you a burst of chase strength and regression.
What each perk does (10.2.0 values)
Help Wanted. Whenever you damage a Generator, it becomes compromised, and up to 3 Generators can be compromised at once (it used to be just one). When Survivors complete a compromised Generator, you get 25% shorter successful basic-attack cooldowns and every Generator not being repaired regresses at 150% speed, both for 70/80/90 seconds. The other compromised Generators then lose that status.
Undone. Each hook earns a Token, up to 3. The next time you damage a Generator, you spend all of them. At Tier III, each Token removes 10% progress and blocks the Generator for 10 seconds, so a full stack is a big swing on one Generator.
Scourge Hook: Monstrous Shrine. At the start of the trial, 4 random hooks plus the Basement hooks become Scourge Hooks. While you're at least 24 meters away from a Survivor hooked on a Scourge Hook, Generators that nobody is repairing regress at 150/175/200% speed.
Agitation. While carrying a Survivor you gain 14/16/18% Haste, and your Terror Radius is 12 meters larger. More hooks in less time means more Undone Tokens and more time with Monstrous Shrine active.
How to unlock the perks
- Start with the general perk. Monstrous Shrine is a general perk, so it can show up in any Killer's Bloodweb without Prestiging anyone.
- Unique perks need Prestige. Help Wanted, Undone and Agitation are unique perks. Prestiging their owner once adds Tier I of that Killer's perks to every other Killer's Bloodweb, and Prestiging twice more unlocks Tiers II and III.
- Buy the chapters if needed. Help Wanted belongs to The Animatronic from the Five Nights at Freddy's chapter, and Undone to The Unknown. You need to own those Killers to Prestige them. The Trapper is part of the base game.
- Aim for Tier III. Help Wanted's duration and Monstrous Shrine's regression scale with tier, so the build gets noticeably stronger as you level them.
How to play it
- Kick early to compromise Generators. In the opening minutes, damage up to three Generators as you patrol. Each one becomes compromised, and Survivors finishing any of them triggers Help Wanted. Damaging a Generator also spends your Undone Tokens, so the two perks fire on the same kick.
- Hook, then go kick. After each hook you hold an Undone Token. Instead of kicking right away, try to bank two or three hooks so the next kick removes up to 30% progress and blocks the Generator.
- Use Scourge Hooks when you can. Monstrous Shrine only works while a Survivor is on a Scourge Hook and you're at least 24 meters away. Hook on a Scourge Hook, then leave to chase or kick somewhere else rather than camping.
- Let a compromised Generator pop if you must. When one is completed, you get 70 to 90 seconds of faster hit recovery plus faster regression on every idle Generator. That's your window to press hard in chase.
- Re-compromise. Once Help Wanted triggers, the other compromised Generators reset, so kick fresh ones to set up the next trigger.
Swaps and alternatives
- Machine Learning works the same way as Help Wanted (up to 3 compromised Generators), but rewards you with 8% Haste and Undetectable for 40/50/60 seconds. Pick it over Agitation if you prefer stealth.
- Ravenous also climbed in kill rate after 10.2.0. Each first hook on a Survivor gives a Token, with 4% Haste while carrying and 4% faster hooking per Token, and at 4 Tokens all Survivors scream and become Exposed. On the current 10.3.0 PTB, that Exposed duration drops from 80/85/90 to 60/65/70 seconds, so check the live notes after November 24.
Common mistakes
- Kicking Undone too early. One Token is only a small regression. If you can afford it, wait for more.
- Standing near the Scourge Hook. Monstrous Shrine does nothing while you're within 24 meters of the hooked Survivor.
- Forgetting the reset. Completing one compromised Generator clears the others, so you can't save up three Help Wanted triggers.
The bottom line
This build makes the most of what 10.2.0 changed: Help Wanted can now track three Generators at once, Undone rewards every hook, and Monstrous Shrine now adds Generator regression on top of its hook setup. It works on almost any Killer, so try it on whoever you enjoy most. Keep an eye on the 10.3.0 patch notes when the Terrifier chapter launches on November 24, as Behaviour is still adjusting perks after the overhaul.
More Dead by Daylight
-
 How to get Iridescent Shards in Dead by Daylight: XP, Shards per Level and What to Buy7 Nov
-
 Dead by Daylight Terrifier Chapter: Art the Clown, Sienna Shaw and Hartshorne Mall Hit the PTB31 Oct
-
Dead by Daylight Patch 10.2.0 Notes: Huge Perk Overhaul, Survivor Quick Chat and a New End Trial Option10 Oct
Sources
- 10.2.0 | Mid-Chapter Patch Notes (Dead by Daylight on Steam)
- October Community Stream Recap (Dead by Daylight on Steam)
- 10.3.0 | Terrifier PTB Patch Notes (Dead by Daylight on Steam)
- William Afton - The Animatronic (Dead by Daylight Wiki)
- Undone (Dead by Daylight Wiki)
- Scourge Hook: Monstrous Shrine (Dead by Daylight Wiki)
This article was written by AI (Claude) and checked against the sources above. Games are updated regularly, so details may change.