How to Open a Bank Account and Deposit Money in GTA 6
Unlock BuckMe in Chapter 1, deposit cash at ATMs, and understand the difference between checking and permanent Family Savings.
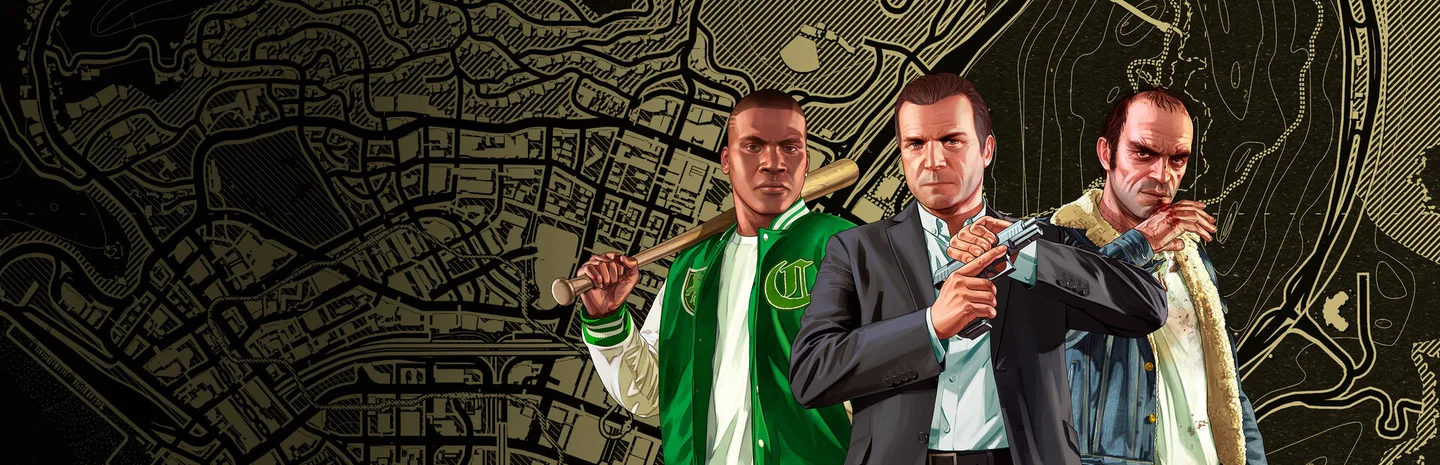 Art: Rockstar Games
Unlock banking by completing Buck Me in Chapter 1, after Lucia returns home. The mission introduces the BuckMe phone app; afterward, use an ATM to move pocket cash into your checking account. Keep checking and Family Savings separate: money committed to Family Savings cannot be withdrawn.

This guide covers GTA 6's launch version on PS5 and Xbox Series X|S. It describes the early banking tutorial without revealing later story events. If your immediate goal is protecting money you have already earned, finish this introduction before taking on another risky job.
Before you start
You need to have reached Lucia's return in Chapter 1. Look for the bank-account objective rather than using a mission number: walkthroughs number these early activities differently, and the name is a more useful reference.
There is no reason to search every bank in Leonida. Follow the story's bank appointment. This unlock comes through the mission, so an ordinary ATM visit before the introduction is not a substitute for completing it.
Consider making a separate save before experimenting with transfers. That gives you a clear point to return to if you misunderstand which balance you are funding. Think of the tutorial as an introduction to three different money containers, rather than a single account with several labels.
1. Follow the bank appointment
Go to the marked bank and approach the teller. The conversation directs you to the manager; follow that interaction instead of looking for an account-opening option at an ATM.
Lucia joins the meeting. Let the conversation play out: the outcome introduces the alternative banking service the game actually wants you to use. Being unable to open a conventional account here is part of the story, not evidence that you missed a prerequisite or arrived without enough cash.
Stay with the objective until the scene moves back home. This is a short introduction, so avoid abandoning it halfway through to explore the neighborhood.
2. Complete the BuckMe introduction
At home, follow the phone tutorial and open BuckMe. Complete the requested savings transfer and the remaining scene to finish Buck Me.
The important distinction is what each balance is for:
| Balance | What to consider |
|---|---|
| Pocket cash | Immediately available cash carried by your character |
| Checking | The bank balance you manage separately from your wallet |
| Family Savings | A long-term commitment that cannot be withdrawn |
Do not use the savings transfer as a casual storage button. Before confirming an amount, ask whether you still need that money for purchases. A balance can be protected from spending precisely because you no longer have access to it.
3. Deposit pocket cash at an ATM
After the unlock, locate an ATM. PC Gamer identifies its map marker as a hand holding a card. Approach the machine, interact with it, and choose the deposit operation for the cash you want to move.
Read the amount and destination before confirming. Then check both your wallet and checking balance. This simple check helps distinguish a completed deposit from an amount you merely selected in the menu.
For a first visit, make a modest transfer and confirm the result before moving a larger amount. That is a useful way to learn the interface without committing your entire available budget at once.
4. Decide how much to carry
Avoid treating either extreme as a universal rule. Carrying everything exposes more of your earnings while you explore; depositing absolutely everything can leave you unprepared for cash-based encounters.
PC Gamer reports street opportunities and some vendors that require physical cash. Its practical advice is to retain a few hundred dollars rather than emptying your wallet. Treat that as a suggested buffer, not a mandatory amount or a guarantee that every encounter will cost less.
Choose your own reserve around the next activity. For an exploratory trip, a small spending allowance makes sense. Before committing money to savings, account for purchases you actually intend to make rather than banking toward an arbitrary percentage.
Common mistakes
The bank meeting does not give me a normal account. Continue the mission. The BuckMe introduction is the intended result.
I transferred money but cannot take it back. Check whether you funded Family Savings. That balance is not interchangeable with checking, and its transfers are permanent.
I have money in the app but cannot pay for an encounter. Some interactions need pocket cash. Visit an ATM rather than assuming your account balance covers every situation.
I cannot find the unlock yet. Check your current Chapter 1 objectives and whether Lucia's return is complete. Follow the named bank appointment instead of attempting to force the feature at an unrelated branch.
Once banking is available, build a repeatable habit: review your wallet, deposit what you do not need immediately, and make savings contributions deliberately. The useful upgrade is control over where your earnings sit, not simply moving every dollar into the first menu the app presents.
More Grand Theft Auto guides
-
GymsArt: Rockstar Games
How to Unlock Gyms in GTA 620 Nov
-
Assassin Nipper .38 PistolArt: Rockstar Games
How to Find the Assassin Nipper .38 Pistol in GTA 620 Nov
-
Smuggler's Gorse 425 ShotgunArt: Rockstar Games
How to Find the Smuggler's Gorse 425 Shotgun in GTA 620 Nov
-
Rocket LauncherArt: Rockstar Games
How to Get a Rocket Launcher in GTA 620 Nov
Sources
This article was written by AI (Claude) and checked against the sources above. Games are updated regularly, so details may change.