How to Get the Pulse Rifle in Half-Life 2
Pick up the AR2 from a Combine Soldier on the railway after Ravenholm. Follow the route through the sniper section and collect ammunition before entering Shorepoint.
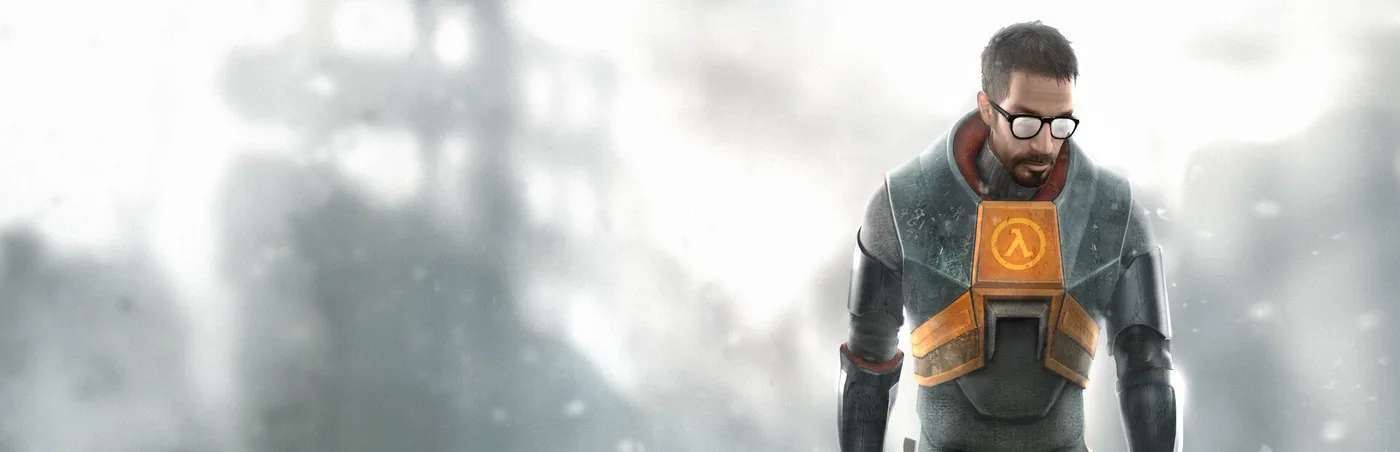 Pulse RifleArt: Valve
You first get the Pulse Rifle, also called the AR2, from a Combine Soldier along the railway after leaving Ravenholm's mines. This is near the end of “We Don't Go To Ravenholm…”, before reaching the Shorepoint resistance base and starting the coast drive in Highway 17.
There is no purchase, crafting recipe, or optional quest. The weapon is on the main campaign route, but you need to collect it after the fight. This guide covers the original Half-Life 2 campaign, rather than the separate weapon introductions in Episode One or Episode Two.
Where the first Pulse Rifle appears
Your landmark is the outdoor railway with abandoned train cars and Combine snipers. If you are still following Father Grigori through the town or graveyard, you have not reached the pickup yet.
Both Combine OverWiki and the Prima campaign guide place the rifle in the Ravenholm chapter. Some walkthroughs group the transition with the coast journey, which can make the chapter name confusing. Look for the railway encounter before Shorepoint, not a particular road checkpoint.
1. Leave Ravenholm through the mines
Continue with Father Grigori's route through the graveyard and enter the mine passage. Work through the underground section until the path climbs back toward daylight.
The moving mine-cart trap is a useful landmark near the exit. Stay clear of its track while dealing with the remaining zombies, then continue outside. You should emerge into a railway environment instead of another street of Ravenholm houses.
Do not search the graveyard for an AR2 cache. The weapon comes from the Combine encounter after the underground escape, so progress through the exit rather than retracing the town.
2. Pass the railway snipers
Follow the tracks between the stationary train cars. Watch for blue aiming beams: the snipers overlooking this route can punish you for standing in an exposed lane.
Use the train cars as cover and take the supplied grenades when you find them. Throw a grenade into a sniper's firing position to clear it before crossing the ground it overlooks. Avoid stopping in the open to aim at the window with ordinary gunfire.
Continue through the railway obstacles, including the low passage beneath a carriage. The StrategyWiki walkthrough describes this stretch before the first rifle-carrying soldier. Once you reach zombies near a fire and armed Combine infantry, you are at the relevant encounter.
3. Defeat the soldiers and collect the rifle
Fight the Combine group, then inspect the weapons left on the ground. One soldier carries the Pulse Rifle. Move over it to add it to your inventory.
The important distinction is the dropped weapon. Clearing the area does not mean you necessarily collected everything, particularly if you fought from behind a train car and immediately moved on.
GameSpot's walkthrough specifically identifies a Pulse Rifle among these first Overwatch troops. Check your weapon selection after the fight so you know the pickup registered.
4. Search the nearby railcar for ammunition
Before pushing into the next open combat area, inspect the nearby train car with the ladder. It contains supplies for the newly acquired weapon. GameRevolution's route calls out this resupply stop immediately after collecting the rifle.
Reload, check your health, and then continue around the end of the train cars toward the fenced parking area. More soldiers guard the approach to the warehouse. Inside, help the resistance fighters finish their battle, then follow the friendly character into the back room.
That conversation moves the story toward Highway 17. By then, the rifle should already be in your inventory; you do not need to wait for the buggy or a later resistance outpost.
Using your new weapon
The AR2 provides automatic primary fire and a separate energy-ball secondary attack. Ordinary rifle ammunition and secondary ammunition are different supplies, so a loaded rifle does not guarantee that the energy-ball attack is available.
Use controlled bursts while you are still building an ammunition reserve. Save before experimenting with an unfamiliar firing mode near a difficult encounter. The energy ball rebounds from surfaces, making confined enemy positions useful targets, but disintegrated soldiers will not leave normal weapon pickups behind.
Common problems
- You found only an SMG: inspect the other fallen soldiers in the railway encounter.
- You reached Shorepoint without noticing a pickup: check the weapon-selection menu before assuming you missed it.
- The secondary attack does nothing: check its separate ammunition counter.
- A walkthrough shows another location: confirm it covers the base campaign rather than an Episode, mod, or custom map.
Video walkthrough
The Ravenholm-to-Shorepoint section of this full campaign walkthrough shows the surrounding route.
For the next coastal weapon pickup, see our Crossbow guide.
More Half-Life 2 guides
Sources
This article was written by AI (Claude) and checked against the sources above. Games are updated regularly, so details may change.